

How To Make A Paper Mache Pumpkin
Pumpkins are a classic symbol of the fall season, and they are fun to decorate your abode with. You can easily make your own using paper maché and a balloon… and it volition last forever then you lot can apply it for years to come. Today I'thou going to share the easy tutorial with you. And so let's become started!
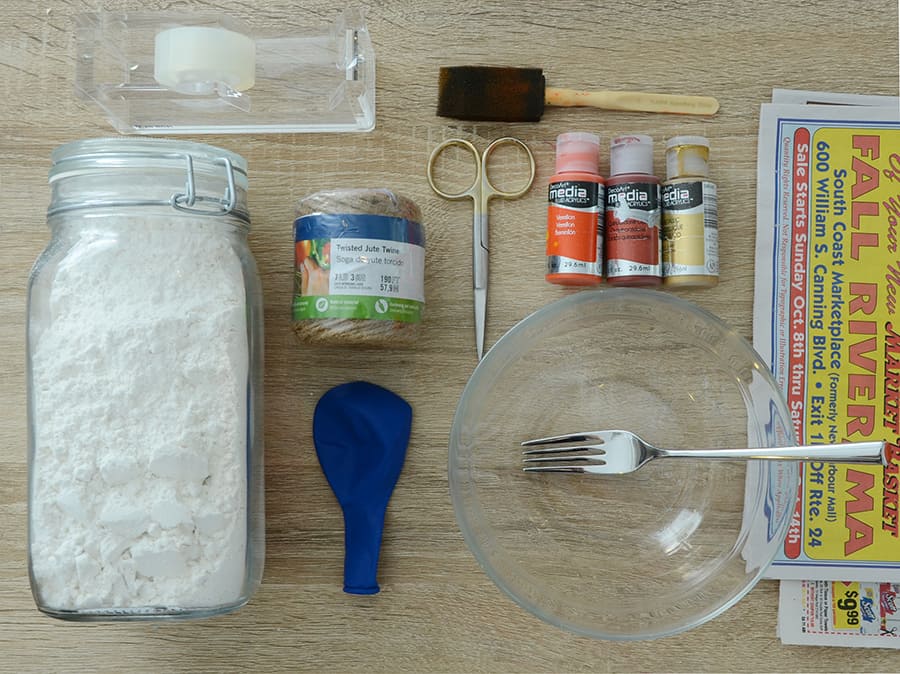
Here's what y'all'll need to brand your own paper maché pumpkin:
- Flour
- Balloon
- Jute twine
- Scotch tape
- Scissors
- Cream brush
- Acrylic paints
- Newspaper
- Bowl and fork
Stride by footstep guide to craft a newspaper mache pumpkin:
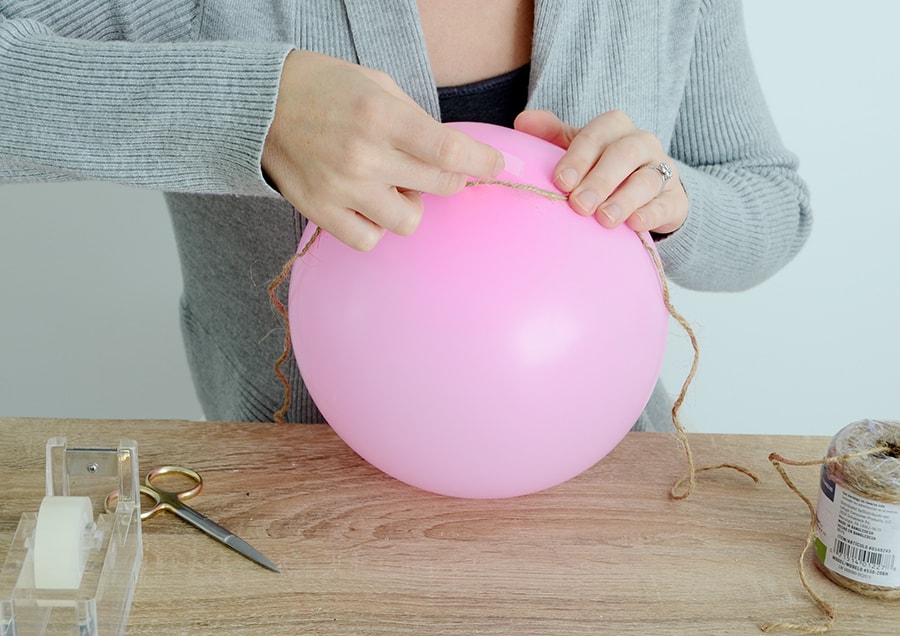
Step 1: Blow the balloon
Begin by blowing up your balloon to your desired pumpkin size. Keep in listen that the larger it is, the more newspaper maché you will have to add. Cut a piece of twine that volition easily wrap effectually the circumference of the balloon and tape the middle of information technology to the top of the balloon.
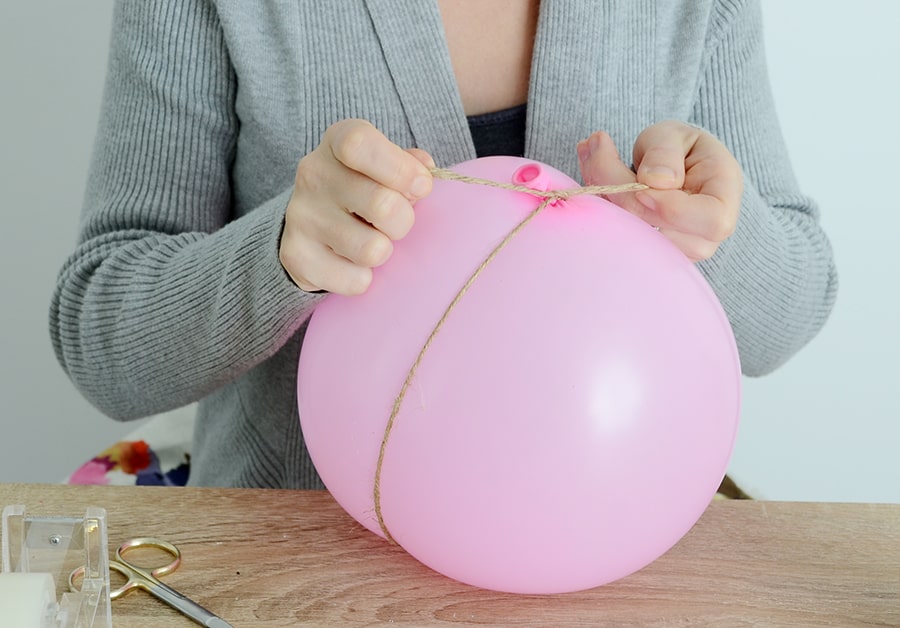
Step 2: wrapping twine procedure
Wrap the piece of twine around and tie a knot past the balloon knot, pulling information technology tight so the balloon bulges a bit.
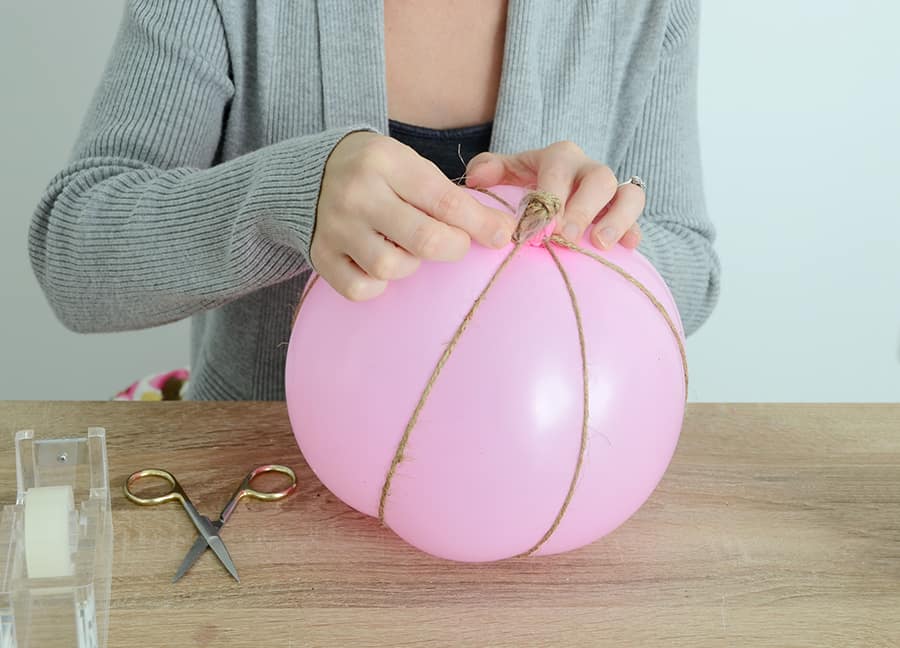
Step 3: Repeat the process
Repeat this with two more than pieces of twine. Then gather all of the ends and the knotted end of the balloon and wrap a couple of pieces of tape around everything to create the stem of the balloon.
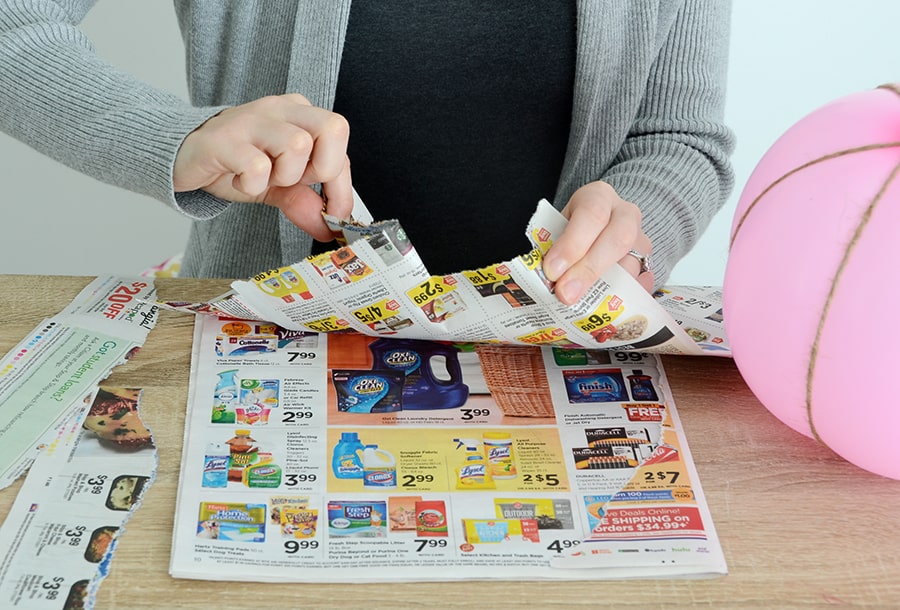
Step four: strips of paper
Next, tear a bunch of thin strips of newspaper. You'll definitely want to do this ahead of time, and so you aren't trying to tear more than while yous have the paste all over your hands.
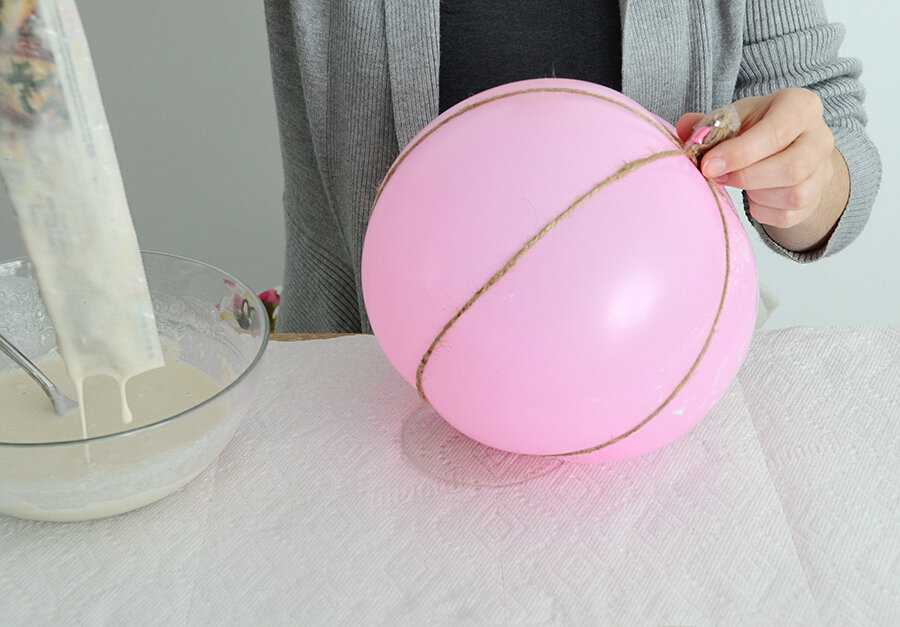
Pace 5: mix the flour and water
Mix equal parts flour and water together in a bowl and stir thoroughly with a fork. Try to become it every bit smooth equally possible. It should be the consistency of watery pancake batter. Dip a piece of newspaper in the mix and allow the excess drip off. Drape it on the side of the balloon.
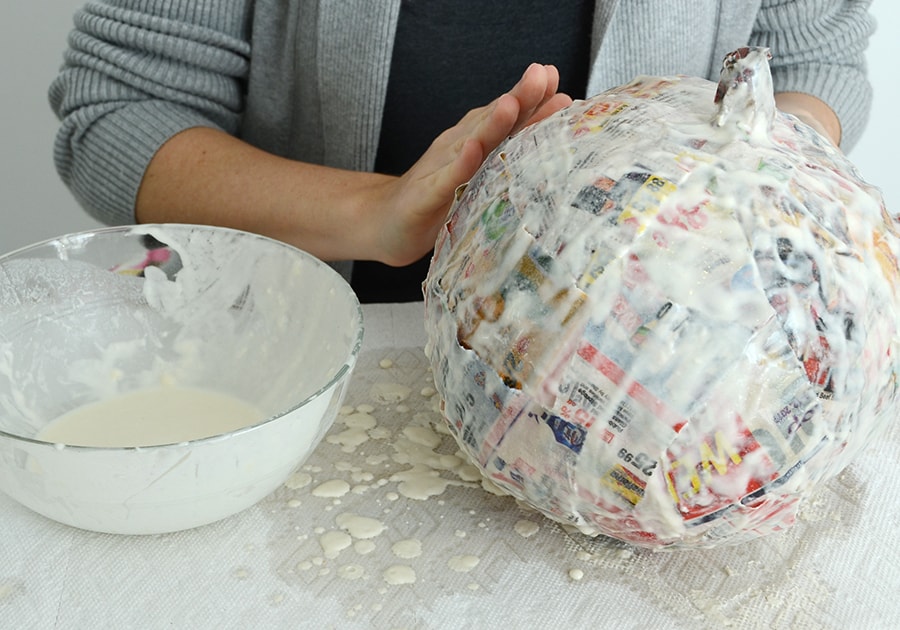
The smaller the newspaper pieces, the smoother the end volition be… but it will as well take longer to consummate. And the more layers you lot practice, the stronger it will be. Let it dry out for most one-half an hr and utilize your fingers to smooth out any bubbled edges.
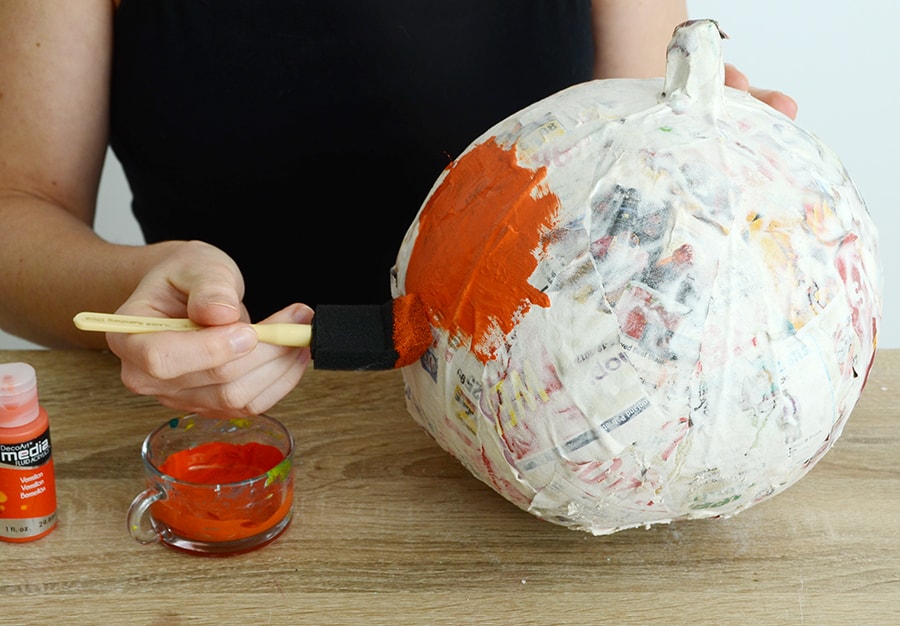
Step 6: painting process
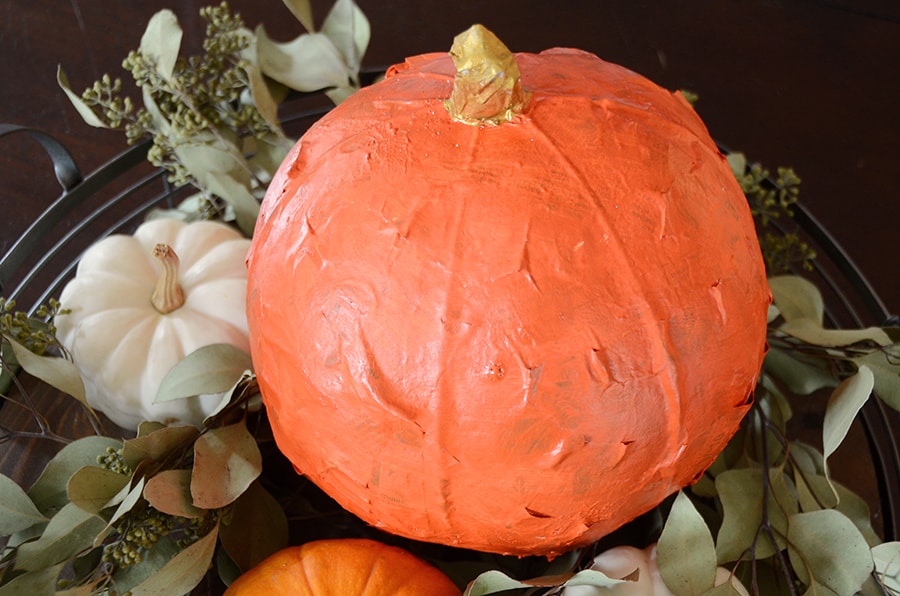
Once it has stale thoroughly, paint information technology as desired. I used a dark orange color for the mankind of the pumpkin, and gold for the stem. Do a second glaze if yous don't like to see the paper text prove through. (I like the look of the paper showing through a scrap because I like the texture it lends).

Conclusion
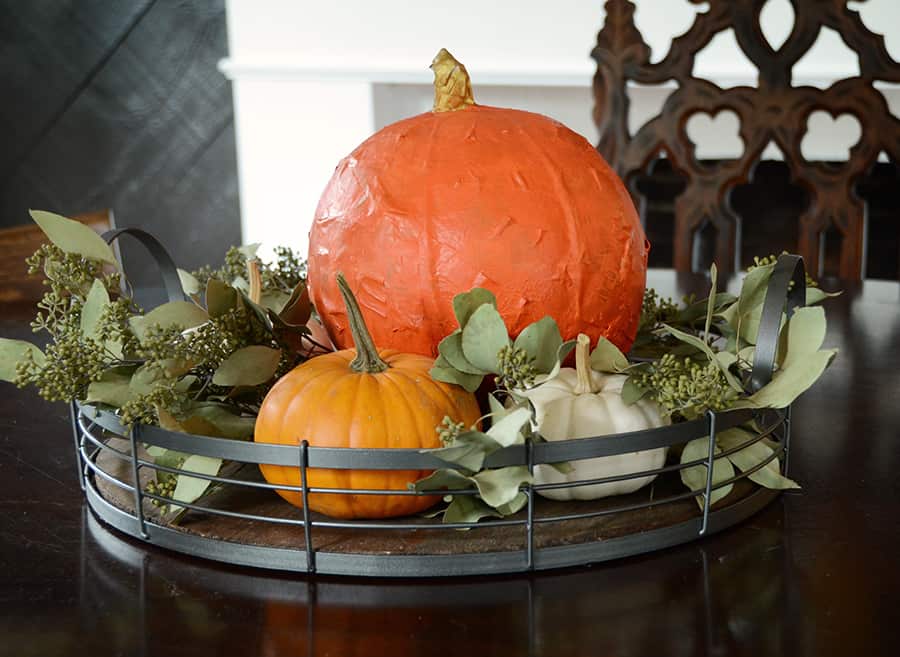
The end result is pretty cool, with a cute rounded shape and pie-shaped sections, thanks to the twine.
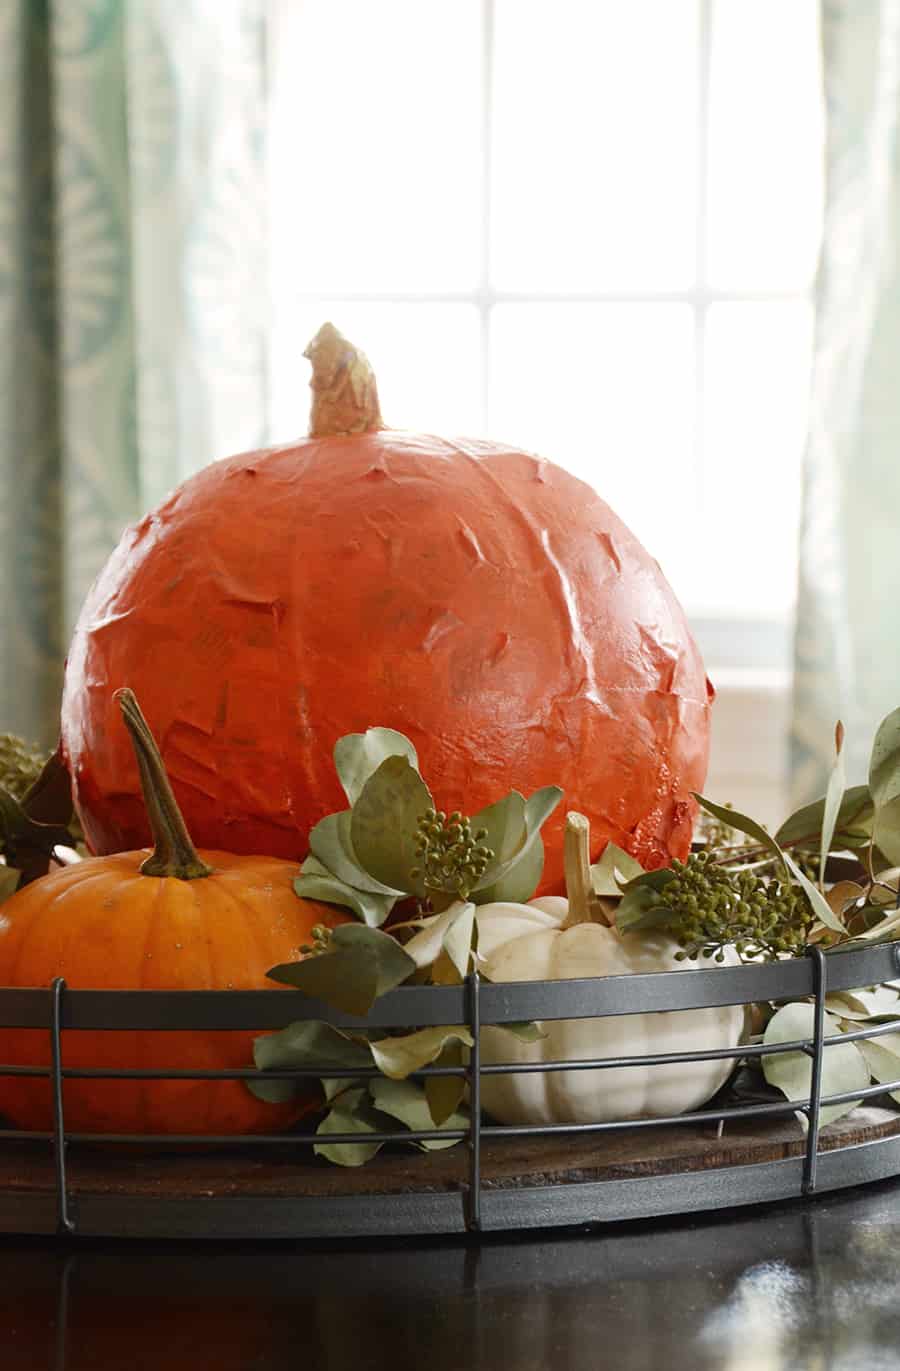
The texture gives information technology a unique look that yous don't get from a typical store-bought artificial pumpkin. You can also try unlike colors… give it the look of one of those heirloom pumpkins that are so popular this yr by painting it a light sage color or off-white.
And y'all tin can also vary the sizes and stem shapes to requite them some variation. Have fun with it!
Source: https://www.diys.com/paper-mache-pumpkin/
0 Response to "How To Make A Paper Mache Pumpkin"
Post a Comment